🌍 Essential Pre-Trip Tips to Make Every Adventure Smoother
Recently I’ve had several friends and colleagues planning for their first international trip. As I was compiling my best personal recommendations it inspired me to share these tips widely in hopes they can be of help to more travelers around the world.
Whether you’re a seasoned traveler or getting ready for your first big international adventure, a little preparation goes a long way. From visa requirements to packing hacks, as someone who has visited over twenty countries, here my tried and true practices and hard won lessons, to help you stress less and explore more.
✅ Before You Take Off: What I Do Before the Trip
1. Check Visa Requirements & Customs Rules
Before traveling internationally, I always visit the country’s official customs and immigration website. Make sure it’s the actual country’s official website (typically ends in “.gov”) because there are websites out there trying to sell visa services. Whether these services are legitimate or not, I can’t speak to but I don’t recommend using them either way.
For US passport holders, the process is generally fairly easy to navigate. However even countries that seem “easy” to travel to may have visa requirements or entry rules (like proof of onward travel or vaccinations, or the new ETIAS requirement that will soon add an extra barrier to visiting the EU). So getting this out of the way ahead of your trip will ensure a smoother arrival experience and help you get on your way to enjoying your travels faster!
Most of the time I’ll do this within a month of my planned travel and as a US passport holder, it’s typically a simple form that can be filled out even from a smartphone. However I recommend checking the official requirements at the time of booking your trip, or before, just in case. For example, traveling to Ghana the visa process took nearly two months and certain vaccinations were required within a specific window of travel dates. The process also took longer than the embassy website quoted, and as a result I had to cancel my flight and postpone my trip. Thankfully the disruption was covered by travel insurance (always get the travel insurance!) but not without a fair amount of follow-up, and involving an attorney, before the claim was finally approved. (If your employer offers legal service add-ons to your health benefits, I highly recommend it, but we’ll save that for another post.)
👆Pro Tip: I always keep a photo (front and back) of my driver’s license, passport, global entry card, and vaccination records, saved to my photo favorites for easy access and upload. This also comes in handy should any of these IDs or documents get lost or stolen on your trip (which has also happened to me).
Bottom line, check the official customs website, the earlier the better. Better to know in advance than be held up at the border!
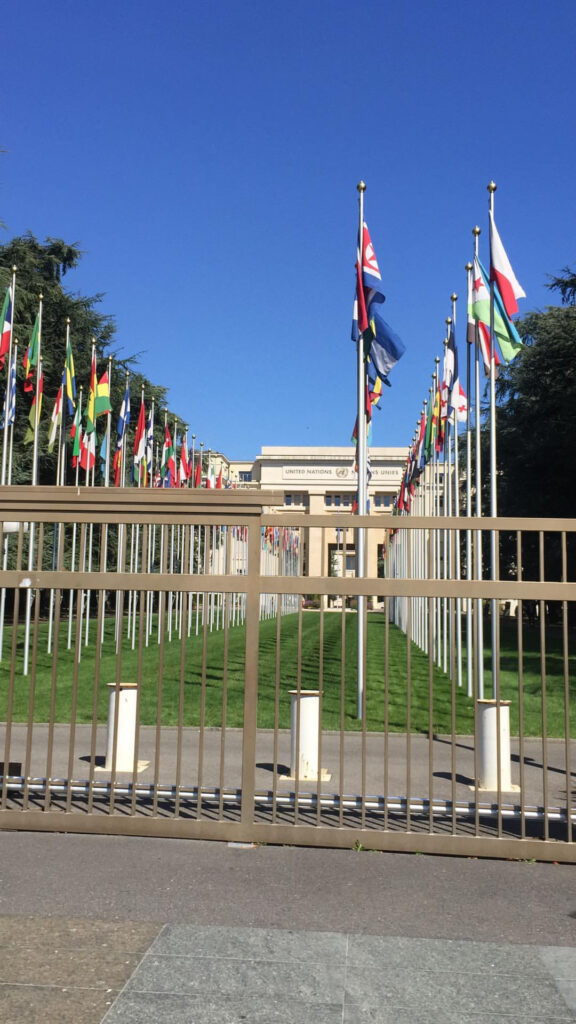
2. Locate the Nearest Embassy
Ever wondered what happens if your passport is stolen abroad? I’ve had the unwelcome pleasure of experiencing this first-hand, and can tell you it’s an incredibly stressful experience. Thank goodness I was in Barcelona where there’s a US Embassy, but they don’t have locations in every city.
I highly recommend researching the closest embassy or consulate to where you’re staying, just so you know. Hopefully, you’ll never need it — but it’s helpful to have the information handy for peace of mind, and in case of emergencies like stolen passports or other legal/emergency issues.
3. Learn the Basics of the Local Language
I make a concerted effort trying to not be that typical American tourist. Majority of places I’ve traveled, you can get by just fine with English. However I recommend doing a bit of research about the country’s official language, and any secondary languages that may be customary.
You don’t need to be fluent, but I usually try to learn the basics like how to say “Hello,” “Please,” and “Thank you” in the local language. Even in English-speaking countries, cultural norms vary. I’ve found that a little effort can go a long way.
4. Research Local Customs
Things like tipping etiquette can vary widely from country to country. In many European countries, for example, service staff are paid livable wages (imagine that!) so tipping 20% may not be necessary. A quick search ahead of time can help avoid awkward situations and help you be a more thoughtful traveler.
🧭 Planning the Experience: How I Maximize My Time
5. Crowdsource the Best Recommendations
This is the bulk of my research – finding places to eat, attractions to visit, and generally looking for the best of the best the city has to offer. Is there a particular dish the country is known for? What’s the best place to find dessert? Where’s the trendiest cocktail bar?
Use Multiple Sources for Research
- First-hand Experience: I always start with friends and family—especially those who have lived in or traveled extensively to the destination. Their personal “must-sees” are often way better than any Top 10 list.
In 2017 I joined a global volunteer network that has over 8,000 members in their 20’s across over 160 countries. While I’ve since aged out of the group, this introduced me to a global community of people who generally share my values and interests, and who know the ins and outs of their cities better than anyone. Many of the hubs will have a locals guide list or map readily shareable. Even though this network may not be accessible to everyone (although if you’re under 30 and passionate about social change I highly recommend exploring whether your city has a hub), I generally recommend starting within your network – friends, family, colleagues, friends of theirs, etc.
- Google: in addition to first-hand recommendations, I also do a general google search and look for travel blog results. I’ll start with “Must See Sites in Bali” or “What local dish is Uruguay known for?” (the chivito is not to be missed!) For US Cities, Eater is one of my top sources for places to eat and drink. Personally I try to stay away from Yelp, although using Google Maps ratings actually has turned out to yield some of the best restaurants I’ve been to. It wasn’t until a trip to Monaco in 2023 that I discovered the “top rated near you” feature. Simply looking at the map for directions, I saw there was a restaurant a few blocks away that had nearly 5 stars with 1000’s of reviews, and indeed it lived up to that reputation.
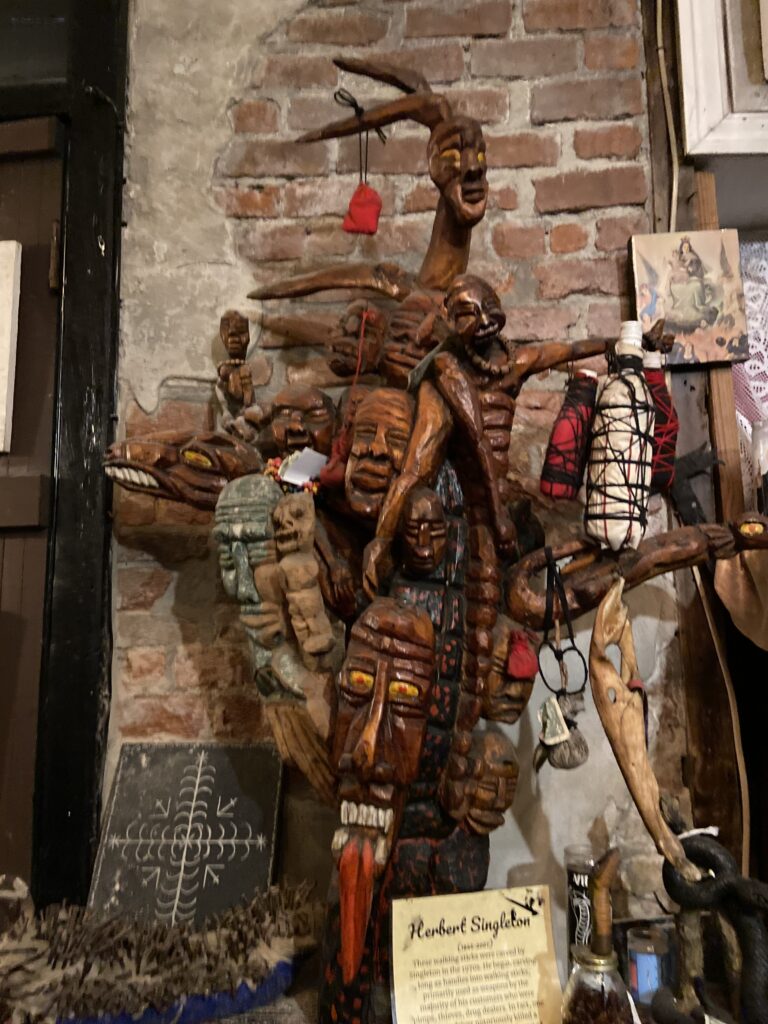
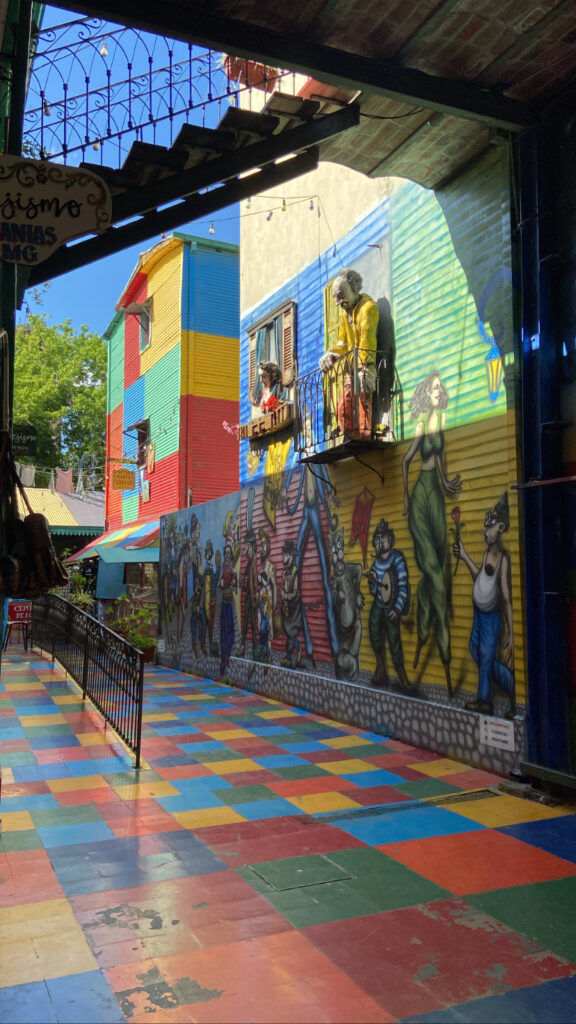
In addition to where to eat, I’m generally looking for museums, any attractions related to art and local culture (like the Caminito in Buenos Aires or NDSM in Amsterdam).
- Ask Bartenders for Local Recommendations
👆Pro tip: the best food and experiences often come from bartenders. This is how my partner and I ended up at an after-hours speakeasy our first-night in Amsterdam. Seriously, bartenders know everything. Whether you’re in your hometown or halfway across the globe, they’re often the best source for where to eat, what to see, and what to skip.

6. Create a Google Map of Must-Sees
True to my Type A nature, I dump all of what I find into a google map and a spreadsheet, categorized by destination type (restaurant, museum, etc.) and general area/neighborhood.
I’m also looking for any overlap—when the same food truck or art installation shows up from multiple sources, it’s probably worth checking out.
I’ll use the spreadsheet to craft a general plan for the visit, but the google map is easy to add to as you may get new recommendations during the trip. Plus, when you’re out exploring, you can check your map for what’s nearby. This helps maximize your time to see many recommendations on your list, while preserving space for spontaneity and in the moment exploration.
7. Pick One Activity or Neighborhood a Day
Personally, I don’t enjoy an overpacked itinerary. It’s not relaxing for me and doesn’t feel like a vacation. I like a balance of “light curation,” making sure I get to see the big things like the Mona Lisa or the Sagrada Família yet preserving plenty of time to wander. Some of my favorite travel experiences have been bar hopping along the Amsterdam canals or wandering around Brussels with family I typically only see once a year.
Generally I choose one neighborhood or main attraction like a museum, per day. This is where the google map created pre-trip comes in handy to check out what may have been recommended that’s already nearby. If you’re a reservations person, traveling with a large group, or have your heart set on something in particular, this approach may not be for you. For example the Anne Frank house typically books out weeks in advance. But traveling with my partner we’ve walked into James Beard award-winning restaurants and have never had any trouble finding the best food of our lives wherever we go. Dietary restrictions can require some additional forethought, but building this into research ahead of time should help you understand the general local cuisine and safety levels for severe allergies or dietary needs.

🧳 Packing Smarter: My On-the-Go Survival Kit
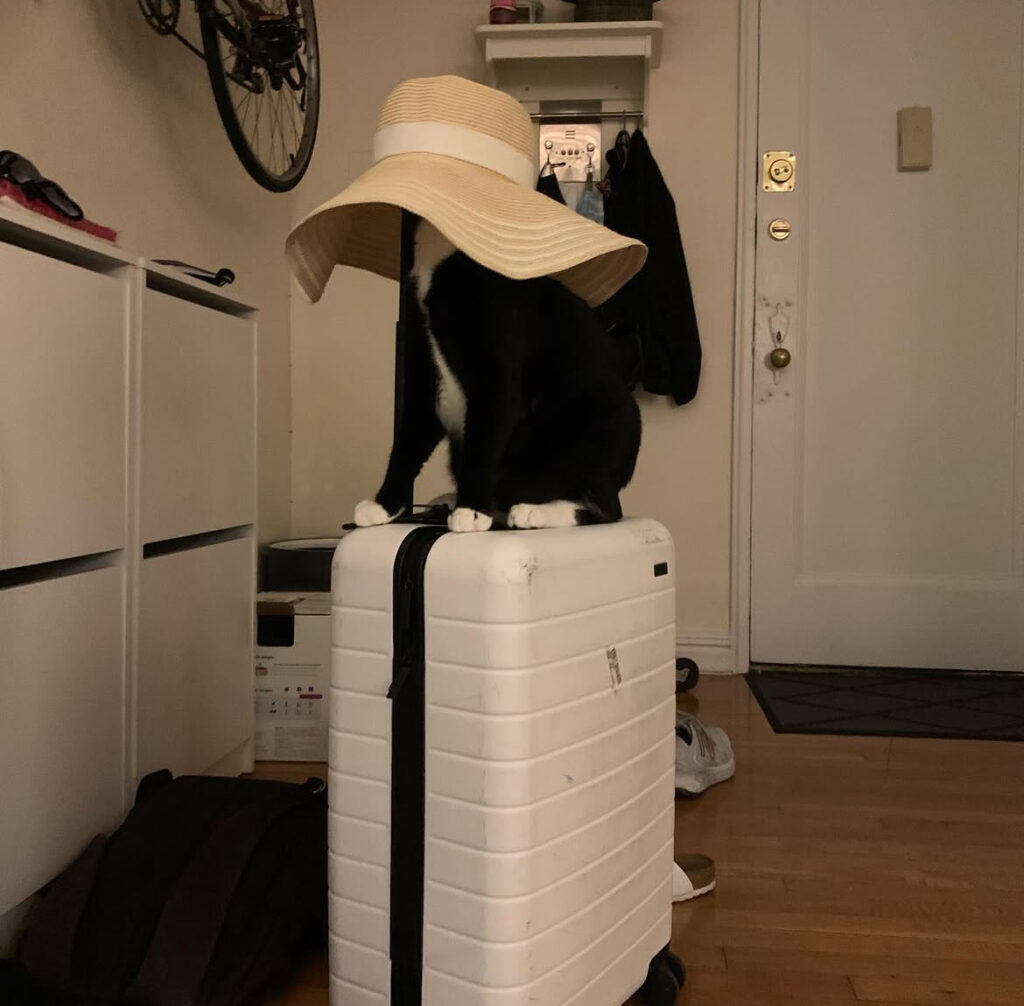
8. Carry-On Only (Yes, Really)
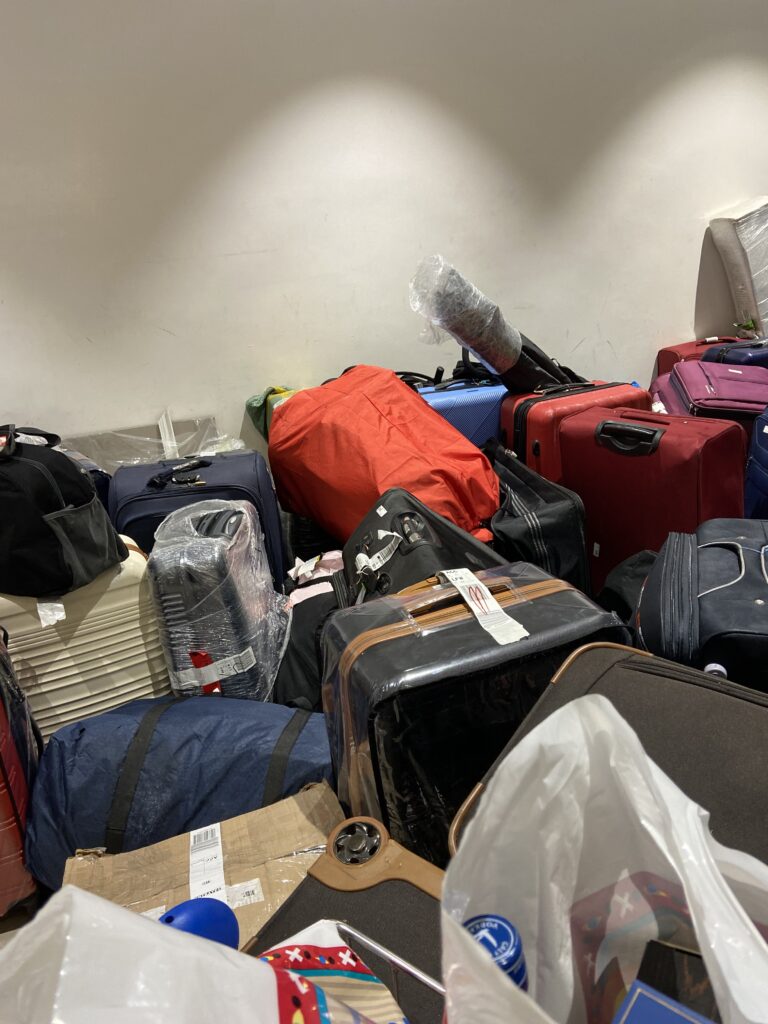
No matter how long I’m traveling—even in winter—I adhere to the carry-on only policy as much as possible. It generally saves time, money, and stress. For example, when visiting a friend living in Africa I checked my bag so I could bring her extra supplies and items difficult to procure locally. And it was this one trip out of the last 10+ international cities I visited with a carry-on, that my luggage was lost.
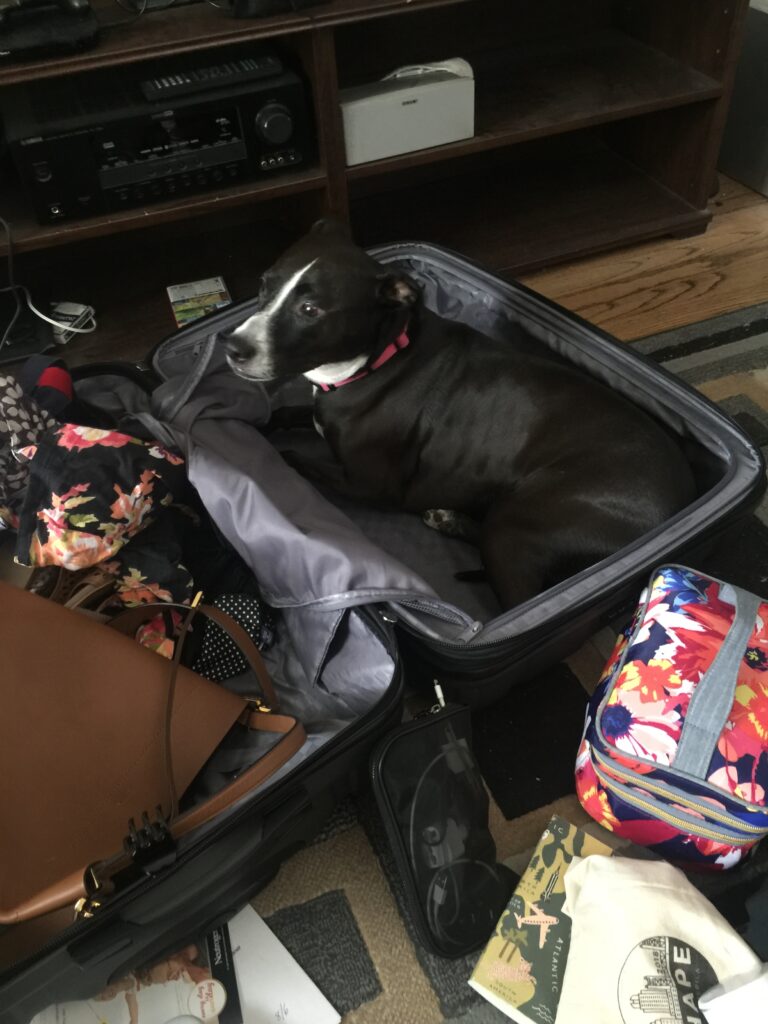
As you may see in this blog’s photos, I also don’t skimp on packing clothes. Here’s a few of my tactics:
- Maximize Your Personal Item (more on this below)
- I subscribe to the clothes-rolling method and have found this to be a better space-saver than packing cubes except for large or bulky items (maxi dresses, puffy vests, etc.)
- Pack versatile staples that layer (a few of my go to items that can be worn as different outfits*: J Crew Factory Chambray Shirt, Spanx Faux Leather Leggings, Naadam Cashmere Scarf, jeans and a white tee)
- Minimize shoes – personally I usually skip sneakers and opt for comfortable and easy to pack walking shoes (Keds are my personal favorite*), and one pair of comfortable shoes that can be dressed up or down – booties if the weather permits, and/or a pair of nice sandals. I generally skip heels unless it’s a specific event like a wedding, and only pack shoes I can comfortably walk miles in since I generally insist on taking public transit or walking everywhere.
- Try to stick with one color palette, I typically opt for neutral tones.
Another tip you might hear is to wear bulkier items on the plane. I do and don’t subscribe to this. Because I hate lugging a coat around the airport I will do everything possible to fit it in my roller bag. However I do typically wear an oversized sweater and the above cashmere scarf that I can layer with on the plane. Especially for international flights that tend to be longer, my primary motivator is comfort. I opt for leggings over jeans, and typically layer because the temperature varies drastically. If you have long hair, don’t forget a hair clip or something you can use to avoid getting snagged on your backpack or purse. I once got stuck on the tarmac without air conditioning, in Atlanta, in the summer, for nearly an hour, before embarking on a thirteen hour flight to Qatar. The option to take off my pants while stuck in my seat and put my hair up was truly lifesaving.
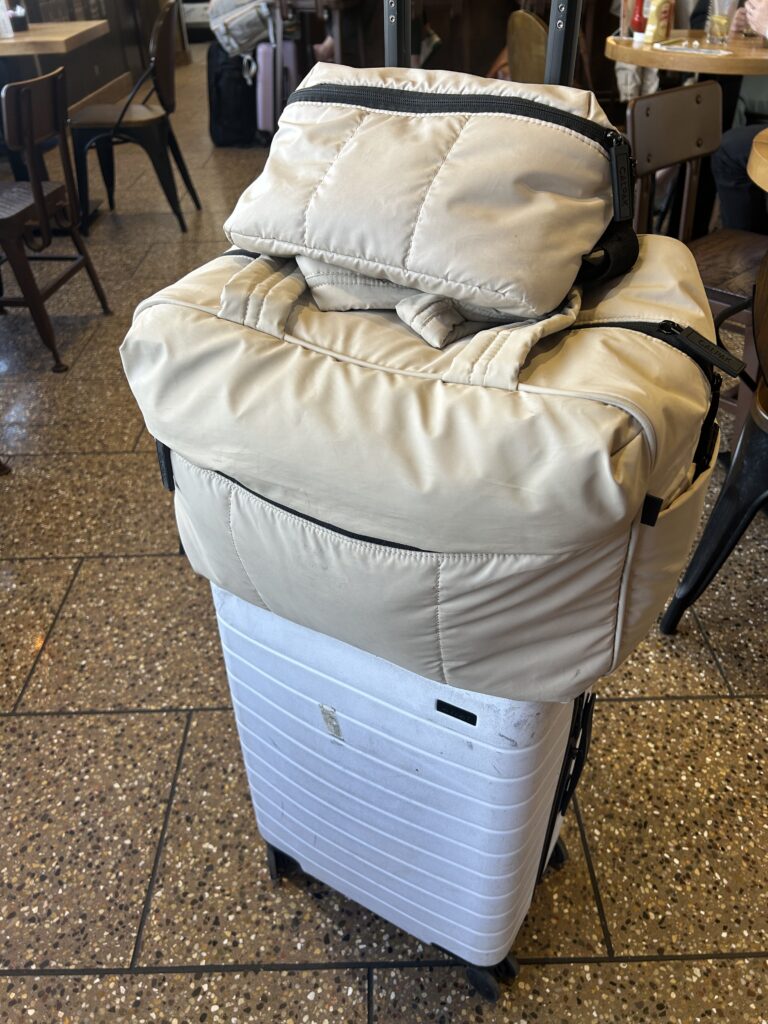
9. Pack a Change of Clothes in Your Personal Item
For a variety of reasons, choose a personal item that’s sizeable, especially if you’re traveling carry-on only. Personally, I opt for the largest bag that’s allowable, and choose a product with multiple pockets and storage sections.
Also note, some international airlines still gate-check carry-ons, so pack wisely.
I always include a change of clothes (or two), toiletries, and any medication or essentials in my personal item. I wear contacts so I always keep a few backup pairs with solution and my glasses. Most international flights will give you a travel toothbrush and toothpaste, and my MIL actually got these dissolvable toothpaste tablets from her dentist that are incredible.
Consider what you might want to change into when you land, especially since often-times hotel rooms aren’t ready right away. Bringing a bathing suit or other weather-appropriate attire suitable for whatever activity you might want to do when you arrive will provide maximum flexibility and comfort.
👆Pro Tip: pack a collapsible tote in your personal item. As soon as you’re on the plane, you can pull out the extra bag and reconfigure any belongings. This works great for snacks, and if you’re traveling internationally especially with layovers, always pack snacks in case of delays or minimal time to find something to eat between transfers. Also on longer flights where you may have some items in your personal bag you won’t need to access to until you land (if you heed my advice above about packing an extra change of clothes), this allows you to separate the items you actually want to use on the plane. Moreover, on international flights there’s generally plenty of space if you’re lucky enough to have an extra seat in your row, if not there’s usually room in the overhead bins. Especially if you do end up on a flight where the airline requires you to check a roller bag, then you don’t even have to wait to get on the plane to separate items. However be conscious if you have multiple connections, you’ll need to repack the tote bag each time you get on a new flight as airlines will only allow you to board with two items. For really long international flights that also generally have multi-hour layovers, I still find it worth it to have maximum comfort on the plane. Just make sure everything fits in your two allowable carry-on items, or you will be forced to check a bag at the gate.
My typical set-up includes:
- Nordace Backpack* – truly one of the best purchases I’ve ever made, it’s great for travel and everyday use. It works especially well as a personal item because it holds a lot, and the many pockets help keep things organized
- (or) Calpak Luka Bag* – while a backpack is optimal comfort for carrying in my opinion, the Luka Bag is a great option if you’re primarily carrying clothes and shoes, with a separate shoe compartment and many pockets, it stores these types of items more efficiently.
- Calpak Luka Belt Bag* – regardless of which option, I’m always carrying a fanny pack like this one. I prefer the Luka to my Lulu* for travel because of its size. I can easily fit a journal, kindle, portable charger and collapsible shopping bag. Being able to carry a journal was a game-changer for me, because I love to write but also aim to travel as light as possible.
- Collapsible tote bag – if I’m traveling anywhere I’ll be swimming I like to bring this convertible towel bag* paired with this packing cube* and it fits nicely in the bottom of my Nordace backpack. The bag is sizeable but also bulky, and unfortunately not currently available from Lunya directly, although I generally support buying second-hand as it’s more environmentally friendly anyway. A great and affordable alternative if you don’t need a towel or space is at a premium, is a foldable shopping tote. I love traveling with these because it also fits nicely in a purse if you’re out for the day and end up shopping.
- Universal Adapter – don’t forget outlets vary in different countries, be sure to check the requirements ahead of time. I use a universal adapter like this one that has worked in every country I’ve visited. I always keep the adapter and an extra long cord in my carry-on to recharge during layovers or on the plane. I use this organizer case so it’s easy to pull out any cord I need in transit.
If your bag gets gate-checked or delayed as mine has on numerous occasions, you’ll be glad you followed this method.
10. Invest in an AirTag (or Two)
These little trackers are game-changers. As someone who’s experienced lost luggage, I wish I bought these sooner.
Toss one in your suitcase and another in your backpack so you always know where your stuff is, even if the airline doesn’t.
🌟 Final Pro Tips:
11. Splurge on the Airport Lounge
For any international trip, my partner and I are traveling with lounge access. Especially if you have a long layover, purchasing a day pass is well worth the cost. If you’re planning to have any kind of meal at a bar or restaurant, the pass basically pays for itself with unlimited access to food and drinks. But even if you’re not someone who enjoys imbibing at the airport, the amenities at the lounge can be well worth the investment. In addition to WiFi they typically offer showers and some even have nap pods. Relaxing in a comfortable space with plenty of outlets is far more enjoyable than trying to stretch out on uncomfortable airport chairs or sitting on the floor after scouring the airport for available outlets to charge your device. The food may be average, but the comfort, quiet, and showers can feel luxurious after a long flight.
👆Pro Tip: Google which lounges are available at your layover airport and proximity to your gates. Not all lounges offer day passes, but most airports have at least one lounge that does. However they sometimes limit day pass availability or general capacity, so knowing where you’re going as soon as you land improves the likelihood of securing a spot, especially during peak travel seasons or inclement weather. Also check your credit cards, as many have travel perks like lounge access or insurance when you use your card to book the travel.
12. Always Book the Travel Insurance
This has saved me more times than I can count. From getting stuck in Spain for an extra week with COVID to lost luggage and visa delays. (As I shared, I’ve had my fair share of travel mishaps.) While it seems travel insurance has gone up in recent years, the extra $50 is well worth it in my experience.
As noted above, check your credit cards to see which may already offer insurance perks when used to book travel, and be sure to read the fine print for any airline restrictions or booking site requirements. Some cards require you to book through their portal to reap the benefits.
13. The Two Wallet Method
In 2019, my passport and wallet were stolen on the train in Barcelona. That’s a story for another post and if you’re thinking, “young-ish female traveling alone, she should be aware of her surroundings,” please know that I was mugged by two middle-aged women with young children, and at the embassy the following day there were four other adult men waiting to have their passports replaced right alongside me.
Nonetheless, long before this incident I’ve always kept two wallets. I keep a day-to-day wallet with 1-2 credit cards (that have no foreign transaction fees), some cash, and some kind of photo identification (though honestly in my experience you rarely need this unless you’re doing some sort of excursion and are generally notified ahead of time).
I typically keep my passport, and a separate wallet with any other credit cards, debit cards, and majority of my cash in the hotel safe or tucked away inside my luggage during transit. This has truly saved me when my purse was robbed. While devastating and violating, I still had plenty of other credit cards and access to money in my suitcase.
14. Access to Money
If you don’t have a credit card without foreign transaction fees, I highly recommend looking into this before your next international trip. There are great options with no annual fees and many come with some of the travel benefits I’ve recommended here like travel insurance and lounge access. Of course this will be dependent on your credit score and you absolutely should save for your trip, keep that money in a high yield savings account with no fees or minimums, stick to your budget when using the credit card during the trip, and pay it off immediately when you return. Do a little research into which cards are offering the best welcome bonuses or which may be most favorable for your specific destination and trip needs (I generally check Daily Drop, Nerd Wallet, and Motley Fool).
On this topic, I also travel with as little cash as possible (truthfully at home or abroad). Most places now will take credit cards, though in some smaller cities and towns you may pay more for goods or services. I’m fortunate to have a card with no ATM fees, so I typically will take a few hundred dollars out at the airport when I land so I have some cash in the local currency. As noted above I keep most of it in a safe in my hotel room and only carry around small bills unless we have some sort of planned activity that requires cash payment. Taking cash out in busy city-centers can make you a target, especially if you’re a solo female traveller. I’d also do ample research before taking cash to a local currency exchange to ensure you’re getting a fair rate. For example in Ghana and Buenos Aires, places where the US dollar is in high demand, currency exchanges can be more favorable and deeply discounted. Personally I still feel most comfortable going through a bank (ATM) that relies on the widely accepted Foreign Exchange market.
Key Takeaways:
- Hedge your bets, keeping most cash, cards, passports and important documents in a safe and carrying around only the basics of what you need day to day
- If you don’t have one already, I highly recommend exploring a credit card with no foreign transaction fees
- Research local currency exchange and plan ahead, keeping minimal cash on hand
✈️ Ready to Jet?
Traveling smart doesn’t have to take the fun out of spontaneity—it sets you up to enjoy the ride even more. With a little prep and a few strategic moves, travel lighter, smoother, and a whole lot more memorable.
*I don’t receive any commission (except Amazon links). These are all genuinely products I use and love. However if any of these brands would like to partner I would welcome the opportunity.